'Tis the season to be jolly, with Christmas just around the corner. What a splendid way to celebrate the holiday cheer with a floral Christmas cake!
This article will give tips about how to decorate your holiday cake with florals, and that is with the use of stabilised whipped cream. To take your cooking experience up a notch, you can whip your decorating cream frosting in a cream dispenser.
Yes, you can stabilise whipping cream in such a device, and you can select from the premier line of ISI Cream Whippers, such as the ISI Gourmet Whip.
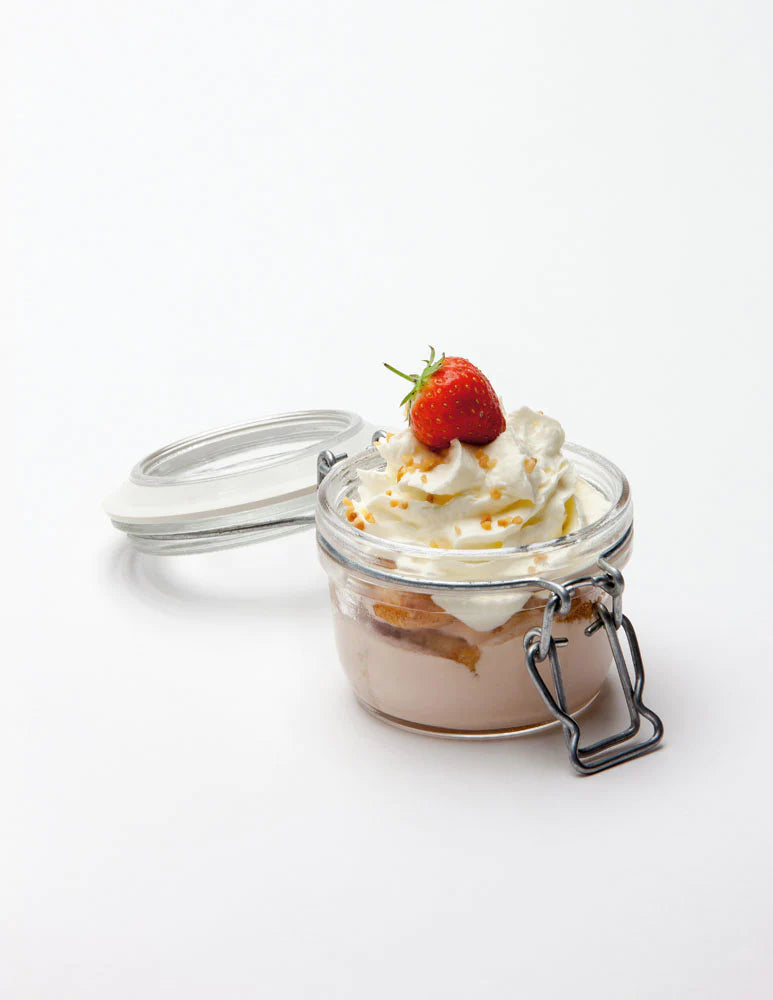
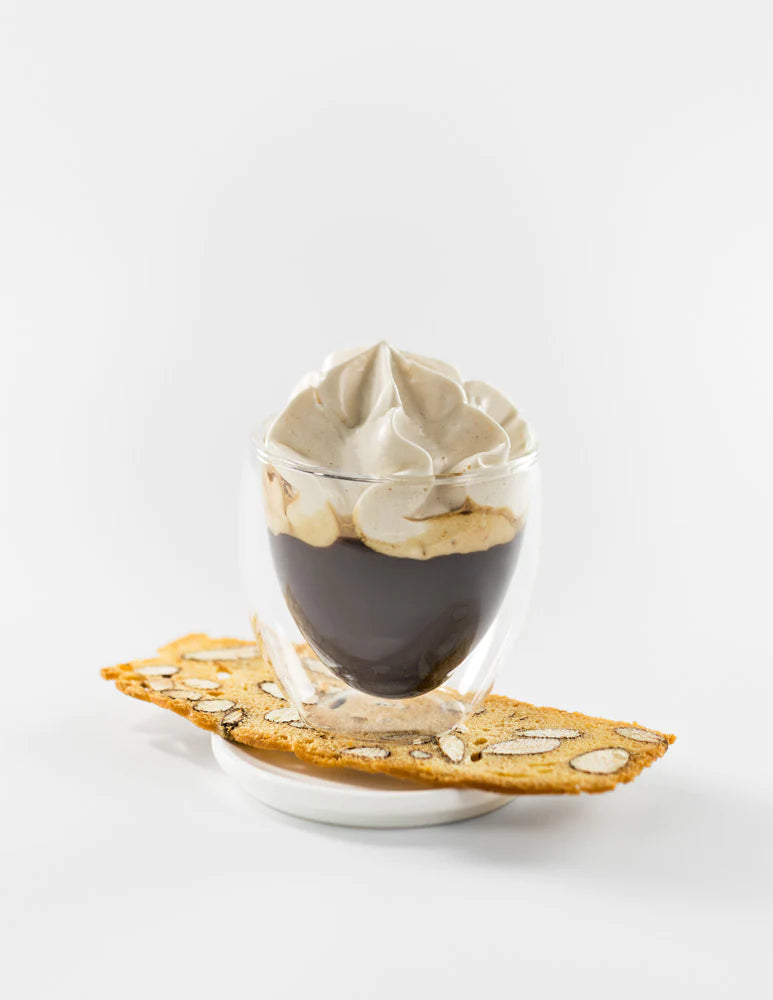
Whipped cream toppings are popular for desserts like sundaes and pies. However, you can also use it as a sweet, tasty icing for cakes. Whipped cream, on its own (when not refrigerated) tends to lose its shape, so the best thing to do is to first stabilise it. This way, it would hold out and retain its shape even at room temperature.
How To Stabilise Whipped Cream In An ISI Gourmet Whip
The ISI Gourmet Whip works as a multipurpose culinary and cream whipper. You can use it to prepare both hot and cold foods.
When using the Gourmet Whip to stabilise your whipped cream, you need to add gelatin. It has a capacity of 1 pint, which is equivalent to over 2 cups of cream. It would suffice if you're decorating a 9-inch or 23-cm round of cake. If you're having multiple layers, it is apt that you make extra servings.
The best-known whipped cream stabiliser is gelatin. Here's what you should do:
- Add 1/2 teaspoon of gelatin in 1 tablespoon of water for 1 cup of cream.
- If you want to prepare 2 cups of cream, add 1 tablespoon of gelation in 2 tablespoons of water. Follow the same ratio if you want to prepare extra stabilised whipped cream.
- Warm the gelatin in the microwave until it melts. When the mixture has dissolved, let it rest until it cools down. Put the cream in the canister and add the dissolved gelatin to it.
- Fasten the head of the cream dispenser and immediately shake it so that the contained ingredients mix.
- When all the substances have fused in the canister, dispense your N2O cream charger in it. Via this method, your whipped cream will stay thick and firm for a longer period
Icing Your Cake With Whipped Cream

From the dispenser, you'll need to transfer your whipped cream icing onto your cake. Plop the cream onto its top where ultimately you'll see a dollop of fluffy topping in its centre.
Take note that your cake has to be completely cool before you put frosting all over it. Do you need to frost a double-layer cake? Then transfer half of the whipped cream to the bottom layer. Using a rubber spatula, let the icing span throughout the cake surface.
Place the second layer on top of the frosted bottom layer and transfer the remaining icing to the next layer's top.
Unfurl the pile of icing smoothly around above the cake- on its surface. From the centre, push the mound of whipped cream away using a spatula. You should then focus on distributing it on the edges of your cake. You must be able to spread the icing uniformly over the top surface. If there is an excess, move it towards the side.
Proceed to spread the whipped cream on the side of the cake. Again, with your spatula angled down and facing towards you, spread the cream on the side of the cake. Unroll it evenly on the circumference using short strokes. Continue doing so until the whole cake is covered with your whipped cream frosting.
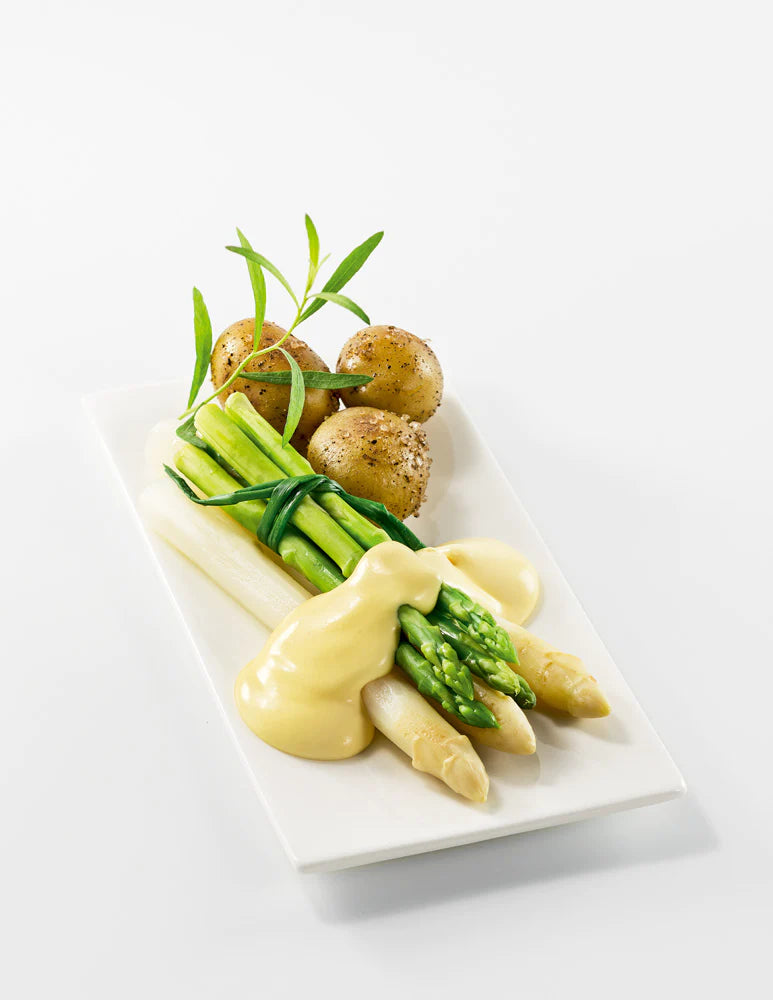
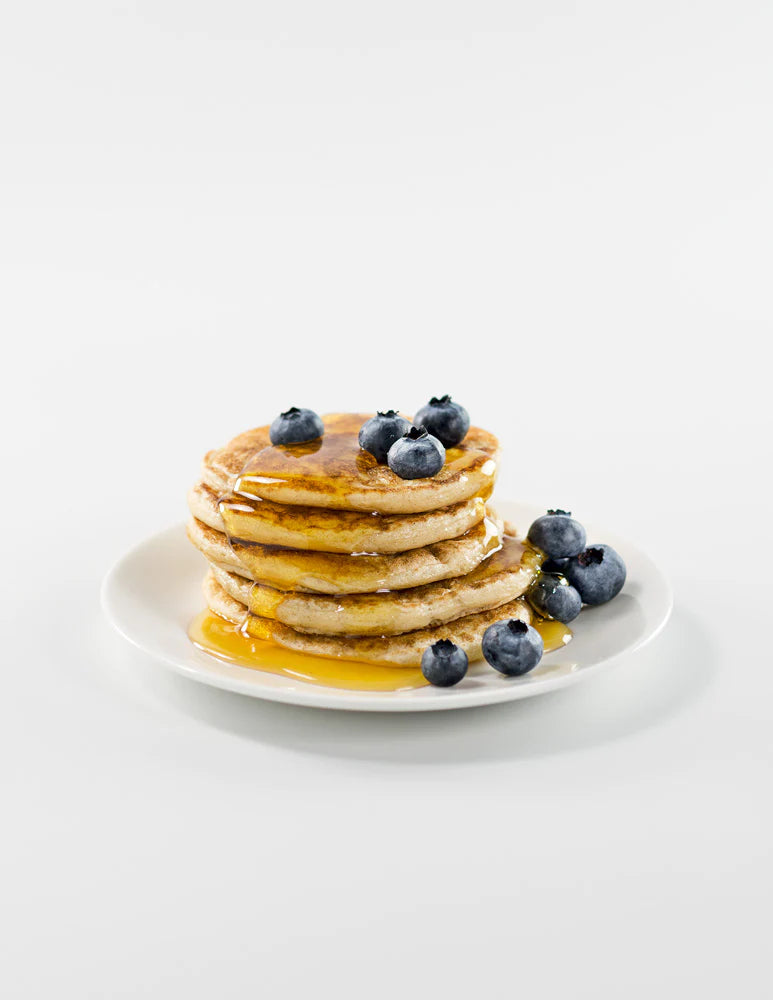
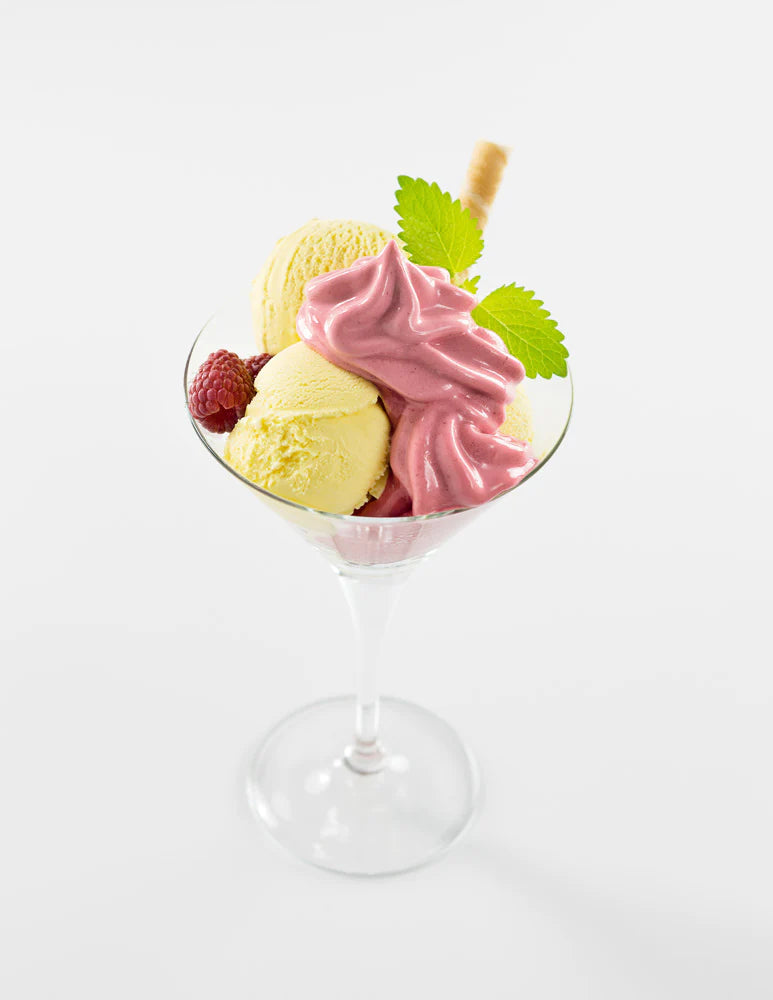
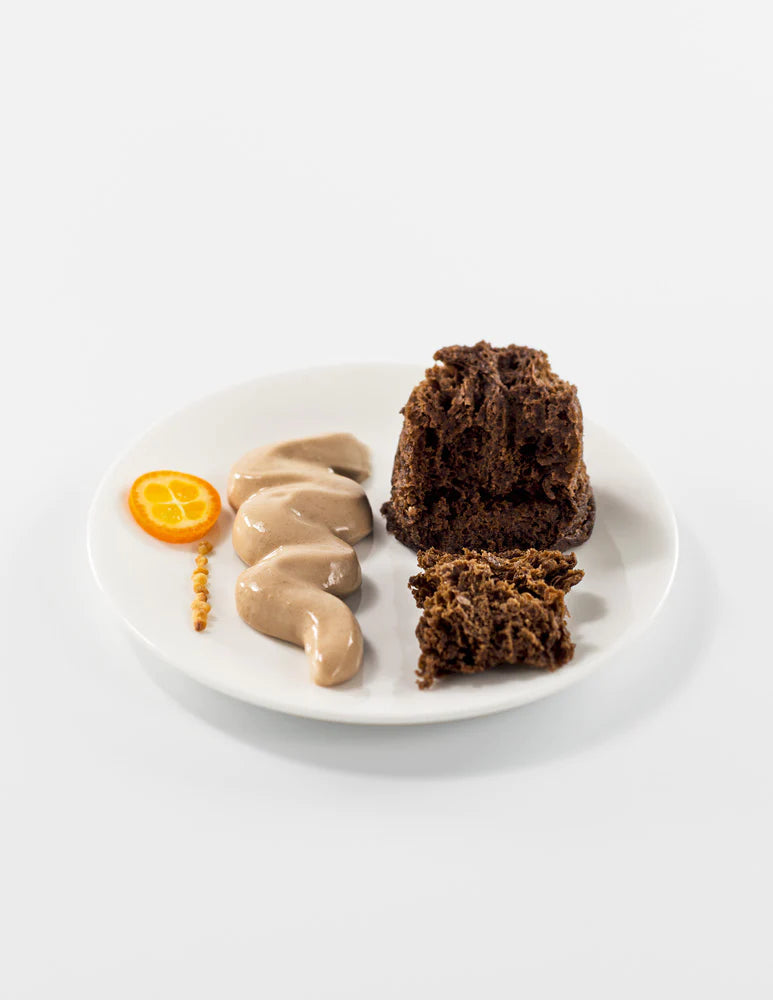
Find more whipped cream recipe ideas in our blog
How To Add Other Decorations To Your Cake
Waves In The Icing
This is quite a rustic look that can add some flair to your dessert. It's a fantastic option if you don't want to add piped decorations. You use the spatula for this task where you swirl the cream frosting so that it creates small waves all over your cake.
Leveling The Cake With A Bench Scraper Before Applying Piping Decorations
Your frosting has to be even and uniform before you can add a layer of piped designs. Do this by running a bench scraper throughout the cake. To start with, work the bench scraper around the cake edges in a circle. Following, run it over the top. Draw the scraper towards yourself and clear away any extra frosting that has settled in the blade.
Putting Piped Decorations All Over Your Cake
After spreading an equal and even layer of icing, you can use ISI decorating tips to adorn your cake. Attach your preferred decorator tip to your dispenser, whether the tulip tip, the star tip, or the straight tip. If you want to use floral designs, go for the tulip tip.
You can squeeze attractive floral whipped cream decorations on the centre of your cake, as a bunch, on the upper edges of it- surrounding the circumference, on the sides, and the base edges.
Refrigerate Your Floral Christmas Cake
Once done, and if you are satisfied with your work, refrigerate your decorated cake. Let your cake set in the fridge for at least 30 minutes before serving it. You must allow the frosting and the decorations to maintain their shape, that's why you should keep it cool.
If you leave it at room temperature, your cake adornments can hold their shape only for several hours, but they will remain for 2 to 3 days if kept in the fridge.
If you want to enjoy and make the most of your whipped cream-frosted and decorated Christmas floral cake, keep it refrigerated. Otherwise, if left only at room temperature, it will destabilise after 3 to 4 hours. Its fluffy frosting and firm decorations will lose their shape and your sweet holiday dessert will eventually melt off.
Read also: